










Hello,
In my new project I decided to use literally what I have within my arm's reach. I imagined an interesting result that I think I can achieve.
An inspiration for this project were white embossing wall papers and Japanese plaster, that I haven't heard of until recently. But as Stanislaw Lec once said "Be self-learners, do not wait until the life teaches you a lesson".
Getting back to the subject. Embossing wall papers are characterised by specific elegance, interesting three -dimensional effect, or convexity. And the method of performance of Japanese plasters gave me the main idea for creation of my flower pot. At the very end of my tutorial, I made also two different pots, in slightly different colours, in which the main components were the straw and cut leaves.


For this project you will need:
- plastic garden pot
- stand paper (60-80 grit)
- PVA glue
- scissors
- brush and clearing
foam sponge (cut for small pieces)
- white acrylic paint
- rabbit hay or straw (you can also use some dry leaves or
straw)

1. Preparing the base of a flower pot. You need to rub the medium grit sandpaper and flick the dust in order to improve the adhesiveness of our material.

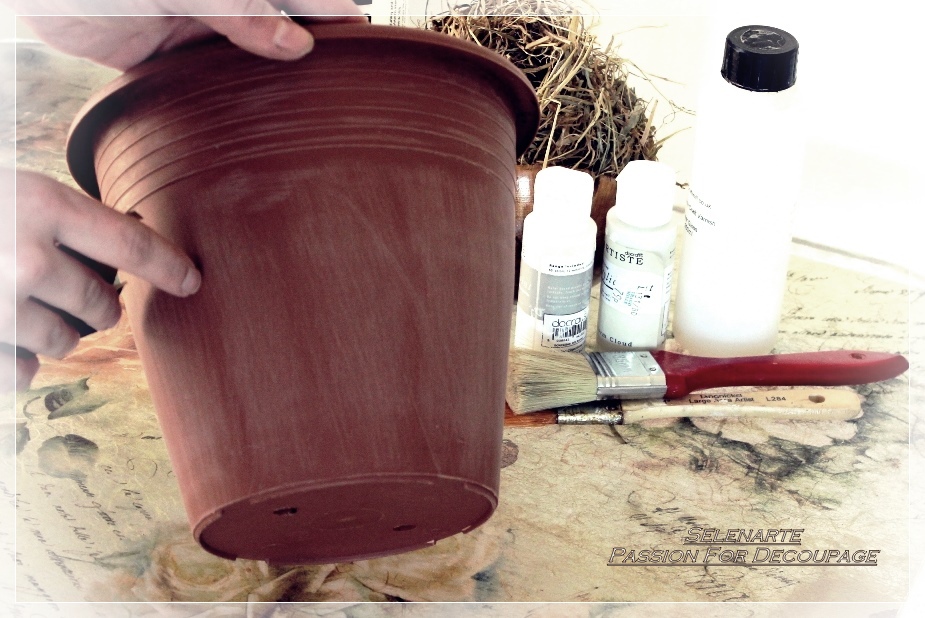
2. We paint it on white using the previously cut sponge.
Gently tap it and then leave for drying for half an hour.


3. Now we put the material. We can do it in two different ways.
A) Cover the flowerpot with glue. Cut the straw into small
pieces. The smaller the pieces the easier it is to glue them to the surface. We
sprinkle it to a wet glue.


B) Mix the glue with water, add the straw to a bowl. Apply all with a brush, slightly pressing it. We
leave it for drying.


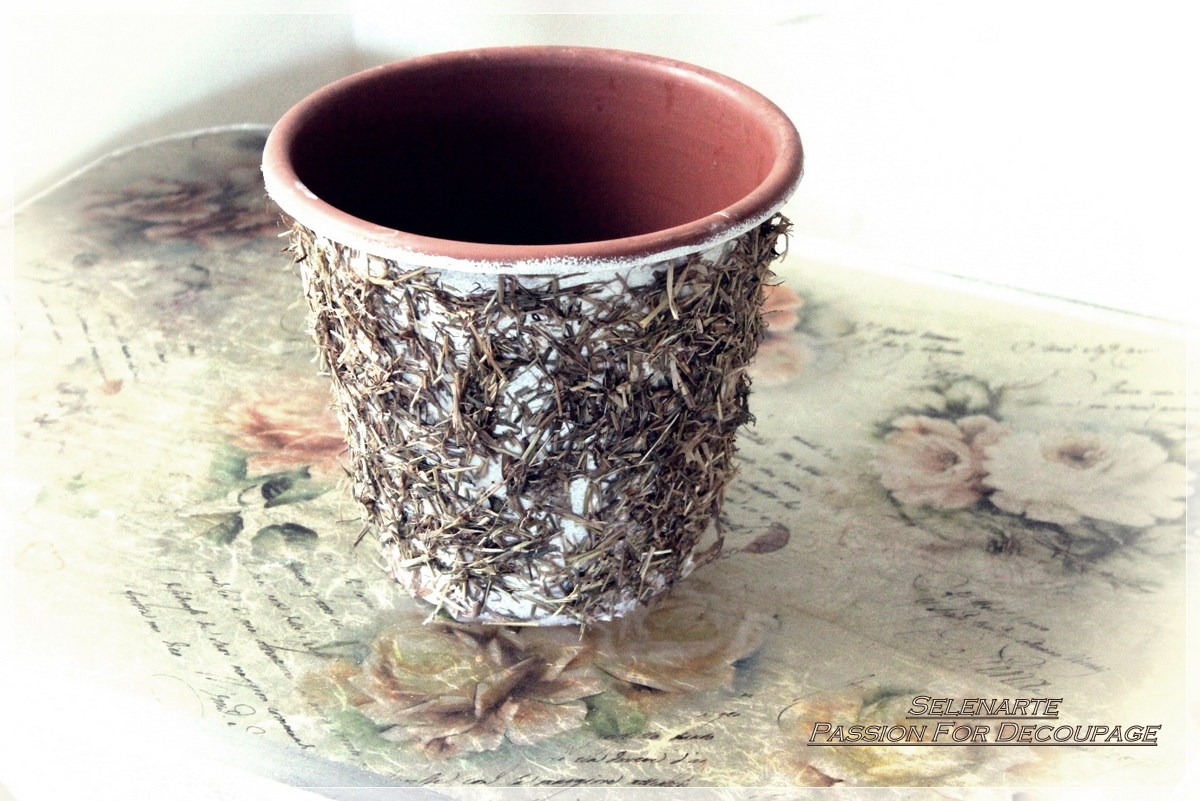
4. Once it’s dry, we apply the glue again, pressing the pieces
of straw that are not glued. We finish it with white paint, leaving some spaces
unpainted in order to make the colour of the bottom visible.
You can finish your flowerpot with lacquer.


You can repet the steps using cut straw.


And another way is to decorate it with cut leaves.


You can find more posts on DIY in the 'Tutorial' tab.
Have fun.
See you next.....


