HomeShopTutorialsMy Gallery Country LivingDriftwoodFurniture PaintingGolden Minds

Sunday, 26 May 2013

Summer DIY - Plastic Pot Tutorial - How To Decorate A Planter With Hay, Leaves Or Straw

Hello,

In my new project I decided to use literally what I have within my arm's reach. I imagined an interesting result that I think I can achieve.  

An inspiration for this project were white embossing wall papers and Japanese plaster, that I haven't heard of until recently. But as Stanislaw Lec once said "Be self-learners, do not wait until the life teaches you a lesson".

Getting back to the subject. Embossing wall papers are characterised by specific elegance, interesting three -dimensional effect, or convexity. And the method of performance of Japanese plasters gave me the main idea for creation of my flower pot.  At the very end of my tutorial, I made also two different pots, in slightly different colours, in which the main components were the straw and cut leaves.


For this project you will need:


- plastic garden pot

- stand paper (60-80 grit)

- PVA glue

- scissors

- brush and  clearing foam sponge (cut for small pieces)

- white acrylic paint

- rabbit hay or straw (you can also use some dry leaves or straw)


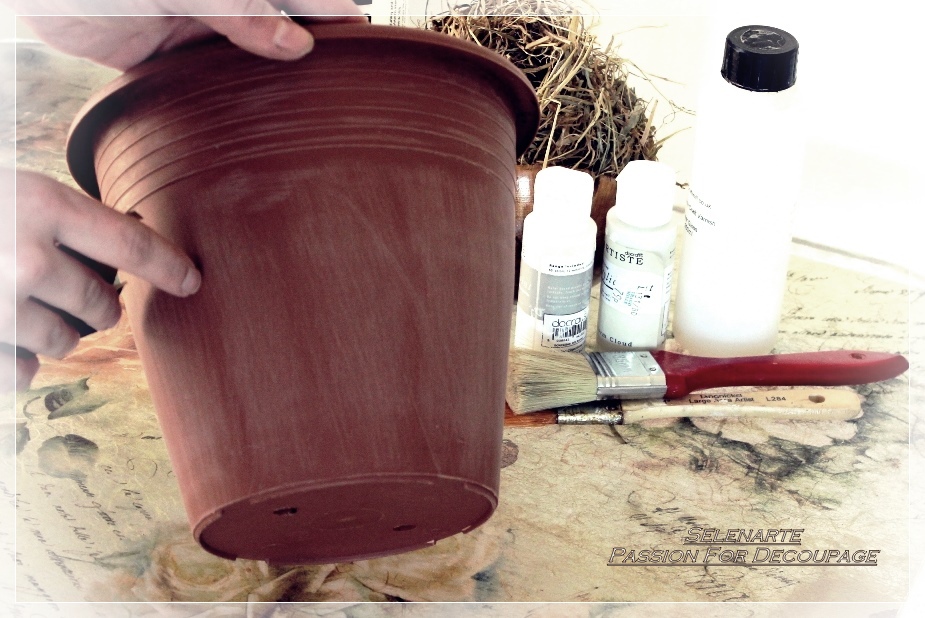
1. Preparing the base of a flower pot. You need to rub the medium grit sandpaper and flick the dust in order to improve the adhesiveness of our material. 


2. We paint it on white using the previously cut sponge.
    Gently tap it and then leave for drying for half an hour.


3. Now we put the material. We can do it in two different ways. 
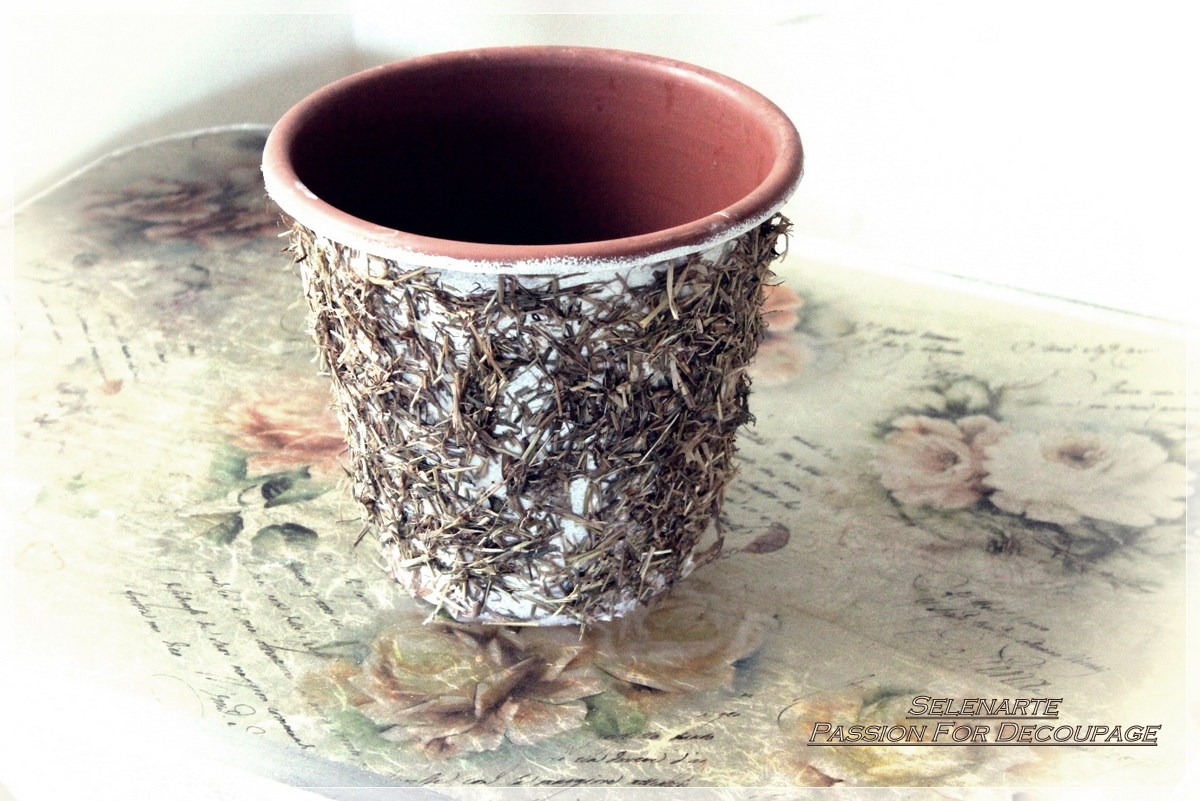
A)  Cover the flowerpot with glue. Cut the straw into small pieces. The smaller the pieces the easier it is to glue them to the surface. We sprinkle it to a wet glue. 


B)  Mix the glue with water, add the straw to a bowl. Apply  all with a brush, slightly pressing it. We leave it for drying. 


 4. Once it’s dry, we apply the glue again, pressing the pieces of straw that are not glued. We finish it   with white paint, leaving some spaces unpainted in order to make the colour of the bottom visible.   
You can finish your flowerpot with lacquer.  


You can repet the steps using cut straw.


And another way is to decorate it with cut leaves.


You can find more posts on DIY in the 'Tutorial' tab.
Have fun.

       See you next.....

Saturday, 11 May 2013

Paper And Its Use In The World Of Creativeness


A few years ago I would never think that paper will play such an important role in my life. It sound trivial, or even comic, but that's the truth. 

The initial idea to create consisted in compacting and boiling the fibres of various plants, and once they dried, it was ready to use.  The biggest difference between the current paper and the papirus of that time lies in the production process. Currently, paper is created in result of chemical and mechanical wood processing, and the quality of paper depends on raw materials chosen for its creation.
I think that the history of paper creation and the process of its improvement is very fascinating. 

Nowadays, we can find surprising paper creations that I would like to present in this post. 

DECOUPAGE PAPER
DECORATIVE PAPER  is my basic work tool and during a few years of creative work I have come across paper with various hardness, transparency, and even a  fibrous paper, so called RICE. Currently we can find on the market the paper of the biggest producers such as 'To Do', 'Stamperia', 'Decomania' or 'Finmark'. In my works, besides a ready-made paper, I also print my own patterns or motives and each of them is specially protected.  

Browsing through Pinterest, my favourite source of information from the world of creativeness, I came across the wonderful paper creations and decided to create a new board called ' Dry Flowers And Paper Arrangements' devoted to such beauties.

Here is some very unique paper creations. 
                                   

     Pretty Bird By Cheong-ah Hwang


 Paper Anemone By @LiaGriffith 


 Paper Shoe By @Kwandera


Paper Mache Styled 'Singer' Sewing Machine By @Jennifer Collier

Sunday, 28 April 2013

Rustic Clock - Napkin Decoupage And Pittorico Shading

   The very idea for this clock was not planned out in advanced. I like napkin designs which are not very close together, so they can be separated, cut out with precision and fit at my discretion in the work.


 The clock found his home on my driftwood table next to a vase filled with my favourite flowers, daffodils. By being there it has lightened and filled the whole room with it's warmth. In this work other than napkin technique I also utilised  pittorico shading and crackled finish with crackle medium.


dd caption


When working with the napkin technique we can cut out or tear out motifs or glue down entire napkins using glue or glue and an iron. Always remember to throw out the two bottom napkin layers. The glue cannot be too thick or too watered down. During the gluing process it is best to wait a moment until the glue has a chance to set a tiny bit and than proceed to gently lay down the napkin from the middle - outward.


   At this time I recommend my previous step by step directions, decoupage on metal, to show to a small degree what I mean. 

See you next....

Saturday, 20 April 2013

Wooden Clock Welcome To JKDriftwood

I'd like to say that I have almost stopped making decorations due to my illness which has touched me. I have been completely derailed from my rhythm of computer, work, home, handicrafts, computer. Yet I have pulled myself together to realize that aside from worries and thoughts of finding ways to heal my constant dizziness there is something which gives me relief and joy. Designing.

I become the owner of some oak planks and decided to make several clocks. Each of the pieces even in their raw state has charm and I longed to look into their soul. 
These now belong to my small collection of large, wood, country style clocks.
 Each of the clocks was made in a similar style ie. it has been engraved, using a 3D technique and special paste as well as being painted.
The first clock is very readable and I think it is my favourite. It has engraved roman numerals, which I've made more visible by painting. Because I have been collecting miniature paintbrushes for a long time, they have finally found their use in this project.

Handcrafted Country Wall Clock 

Engraved Wood 

The whole work is of course super polished. The clock is available in my shop.
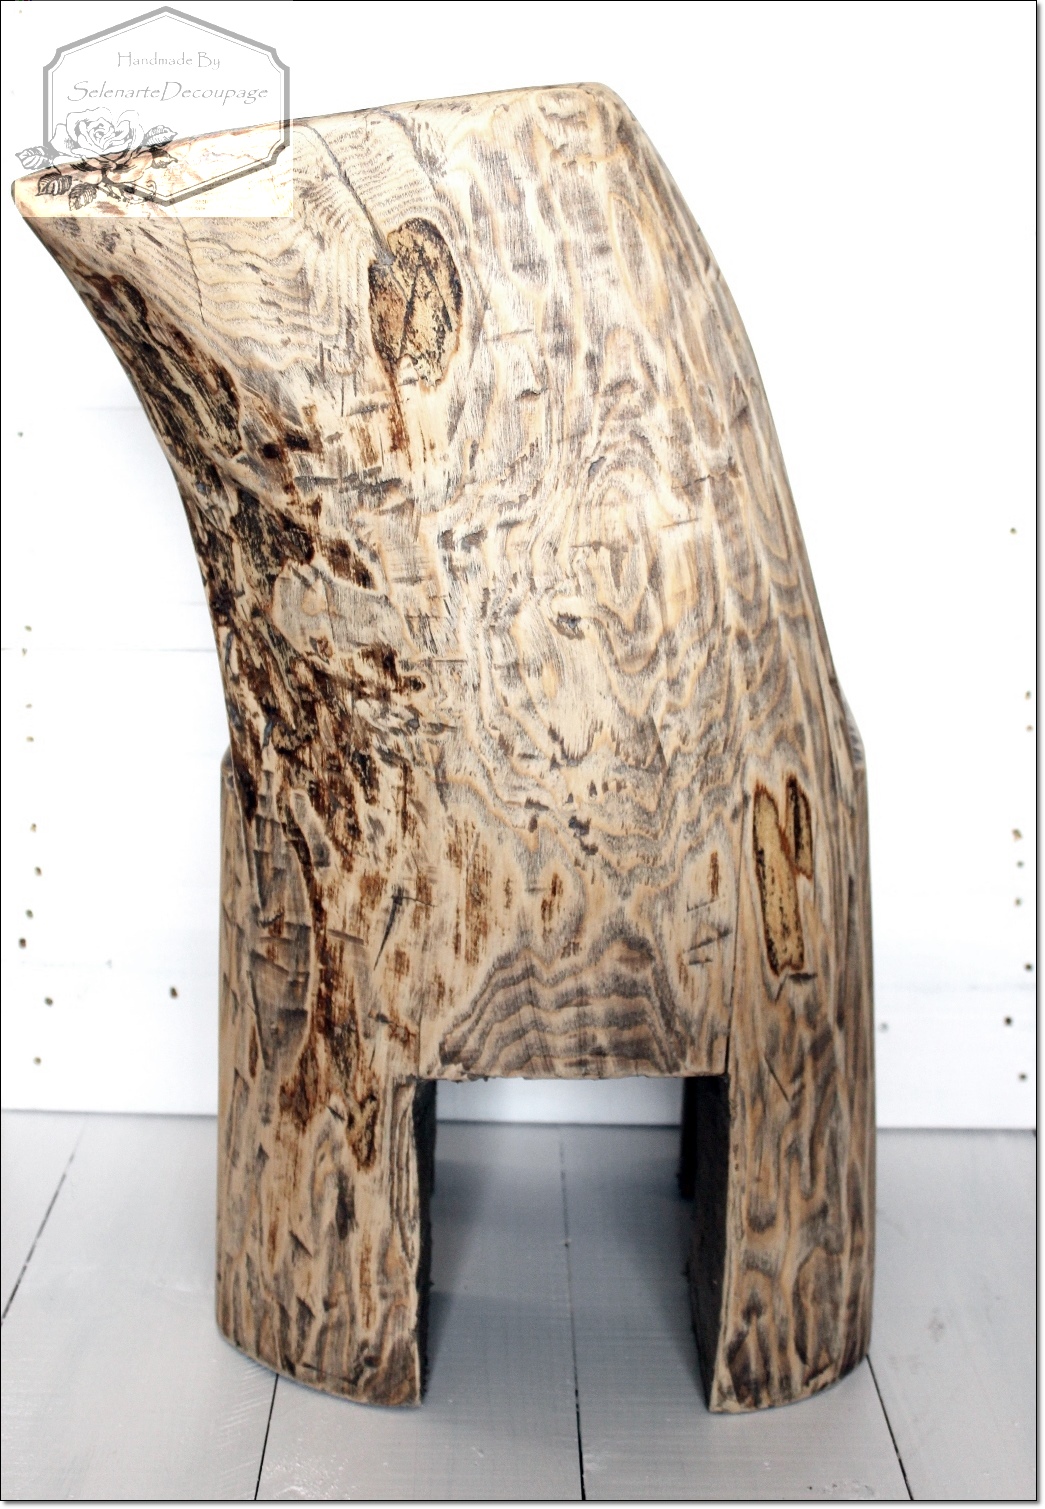
There is a small piece of wooden trunk in my house converted into my mini chair. It has cracked and curled naturally. Very useful for photo shooting.


While waiting for spring I decided dress things up and besides finishing the remaining clocks, I photographed my work of art from last year. Next week I will showcase the clock with a fruit motif and pittorico shading and I wonder what do you think?

Sunday, 30 December 2012

Hand Painted And Distressed Small Furniture Forms

I'm not sure if I already mentioned this, but I have found a completely new passion in my life. Browsing in one of the furniture stores I came to the conclusion that none of the objects on display was worthy of my attention. Simple shapes, narrow selection of colour and plastic imitating wood. Maybe it comes from constantly searching for something which is not made by the dozen. Apparently I am the type of person who is constantly seeking change and cannot seem to sit still.

Several weeks ago I was inspired by a course in finishing furniture, and because I still had four weeks of holiday in my pocket, I bought a ticket and went without hesitation. I traded walks on the beach for workshops with paints and brushes.
During this accelerated course I learnt several techniques of finishing:

WHITE-WASHING FURNITURE OR BLEACHING 
(exposing the grain of the original wood )


         HAND PAINTED STEP STOOL


RUBBED FINISHES
(DRY BRUSHING)

 GREAT COMBINATION OF WHITE AND GRAPHITE PAINTS

SHABBY CHIC 


        WHITE SHABBY CHIC JEWELLERY HOLDER OR KEY CABINET 

AGING FINISHES 
(PATINA EFFECT)

PATINA EFFECT JEWELLERY BOX 
 WORN STEEL


Multicolour rubbing, the last technique I have learnt. This tray I have also decorated with a blue poppy rice paper.

MULTICOLOR RUBBING


In a week I will show you my first piece of furniture made using one of the techniques I learnt - or my creative interpretation of them.

By now I wish everybody a Wonderful and Happy New Year. May all your dreams come true.
As someone once said:
"Our wishes are presentiments abilities that lie dormant within us, announcements of what we can accomplish."

                                                                                           Johann Wolfgang von Goethe