HomeShopTutorialsMy Gallery Country LivingDriftwoodFurniture PaintingGolden Minds

Sunday, 30 December 2012

Hand Painted And Distressed Small Furniture Forms

I'm not sure if I already mentioned this, but I have found a completely new passion in my life. Browsing in one of the furniture stores I came to the conclusion that none of the objects on display was worthy of my attention. Simple shapes, narrow selection of colour and plastic imitating wood. Maybe it comes from constantly searching for something which is not made by the dozen. Apparently I am the type of person who is constantly seeking change and cannot seem to sit still.

Several weeks ago I was inspired by a course in finishing furniture, and because I still had four weeks of holiday in my pocket, I bought a ticket and went without hesitation. I traded walks on the beach for workshops with paints and brushes.
During this accelerated course I learnt several techniques of finishing:

WHITE-WASHING FURNITURE OR BLEACHING 
(exposing the grain of the original wood )


         HAND PAINTED STEP STOOL


RUBBED FINISHES
(DRY BRUSHING)

 GREAT COMBINATION OF WHITE AND GRAPHITE PAINTS

SHABBY CHIC 


        WHITE SHABBY CHIC JEWELLERY HOLDER OR KEY CABINET 

AGING FINISHES 
(PATINA EFFECT)

PATINA EFFECT JEWELLERY BOX 
 WORN STEEL


Multicolour rubbing, the last technique I have learnt. This tray I have also decorated with a blue poppy rice paper.

MULTICOLOR RUBBING


In a week I will show you my first piece of furniture made using one of the techniques I learnt - or my creative interpretation of them.

By now I wish everybody a Wonderful and Happy New Year. May all your dreams come true.
As someone once said:
"Our wishes are presentiments abilities that lie dormant within us, announcements of what we can accomplish."

                                                                                           Johann Wolfgang von Goethe


Tuesday, 20 November 2012

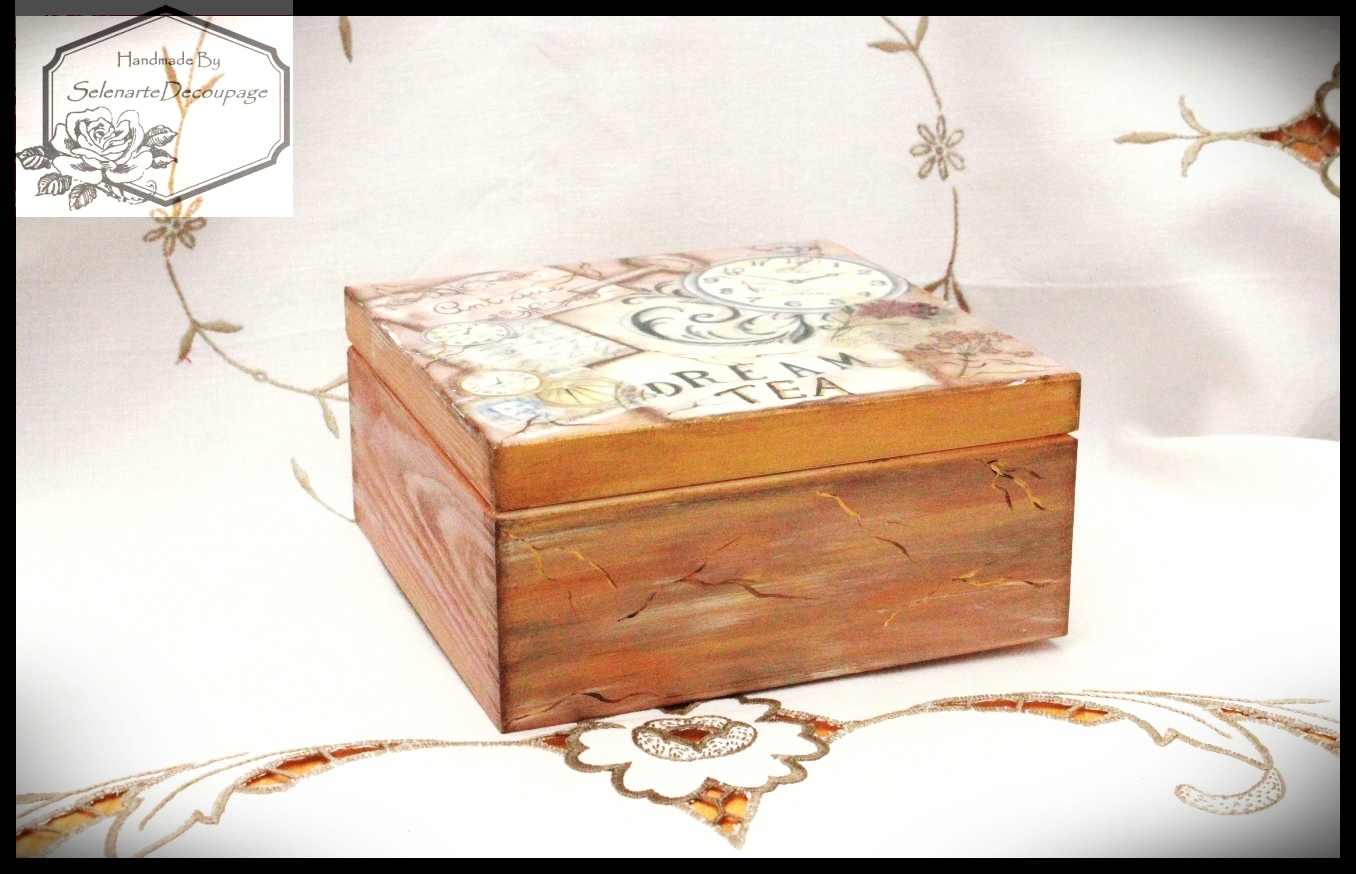
Vintage Style Tea Box And Decoupage Paper

Hello 
 
It is so cold and rainy here. Nobody bustling around. I think this Is the perfect weather for me because I don't have to hesitate whether to stay home or go out. I can give onself my favourite activities in the quiet corner of my room.
Well, one of my tea boxes was made with absolute pleasure.


 I have played with pieces of great quality classic and very thin, almoust transparent and traditional decoupage paper.
For those who never did anthing like that I can say that paper plays a crucial role in decoupage. It is very best to use specially design for this technique in order to obtain good results. Motives on such paper tend to be very well sepatered from each other to be able to cut them easy. Most of the classic papers are made from high-strength material that easily stick to various surfaces such as wood, metal or even glass.


This box is a combination of everything: paper, acrylic paints and patina and a little bit of imagination. It was so popular so made another for one of my cutomers.


Thank you my dears and have a lovely week....

Thursday, 1 November 2012

Bring tired furniture back to life - Hand Painted Chairs DIY

Today I will show you my old Victorian style chairs, which undergo a tranformation from Ugly Duckling to the Princess and the Pea.
I really liked the chairs until I painted them again with a dark paint, probably a teak color, which started to dissolve the finish and even now I can take the paint off with my fingernails.

                                        Here is the first chair before I began.

                                                 Here it is during the process.


In the meantime, my partner noticed my excitement and decided to buy me a modelling and engraving set. Now even the hard to reach places will be easy as pie.


The second stage will be purchasing matching fabric and upholstering the chair, as well as painting, finding the right trimmings, and here I have to say that this is my next goal for the future.
 I'm finding myself a bit short on time for these chairs, especially before the holidays, and since each one requires sanding with sand paper outdoors on account of the dust - and who wants to sit outside for several hours in the cold, at this time of the year?

You can follow my projects in the next few entries and hopefully, this will be one I will finish before the end of this year.


Enjoy your day!

Friday, 14 September 2012

Decoupage Bottle Lamp - Old Newspapers Scraps

First of all I would like to thank everyone who took part in my giveaway. |The clock has already gone to Sadie. Hopefully she likes the clock.
Back to the begining of my decoupage. How much I like to devise something like that.
Long time ago I was glowing by new, modern and cheap items and what was most important, shiny. But since I got into my passion and work I began to look at the world through the mirror. I have made a phenomenal discovery of what is the handicraft. Therefore my outlook of the surrounding objects also gained another blunt. As far as I can remember one of my lamps was in a pitful condition. Probably I had a few removals and therefore the lampshade had bent and gone completely gray and unattractive. 

My craft project's go was to decorate the lampshade using pieces from the old newspapers.


  The scraps were simply glued with PVA but before I had spent so much time preparing all the necessary materials. I was collecting all sort of newspapers where I could find old pictures of people and old fashioned font. I have ripped small pieces of my favourite images and made it looks older with the flame method. I didn't actually put the paper into the flame. The idea was to use the heat from the flame to burn the paper slowly not to burn it completely.


Now my lamp is used in my crafty room as my extra source of light.

Thursday, 6 September 2012

The Happy Winner

Good morning everyone.

I'm having fantastic morning by choosing one of you to be a happy winner of my decoupage wall clock giveaway.


I'm happy to announced my clock is going to  Sadie

 Thank you everybody for participating.